Twilio setup
We have partnered with Twilio for sending SMS Notifications so need to set up an account on Twilio before you start using the extension.1. Sign up and get a phone number
- Sign up for Twilio. When prompted to select a plan, click Continue with trial.
- Get a phone number with SMS capability:
- In the account dashboard, click Get a phone number, or
- Go to Phone Numbers > Manage > Buy a number.
- From the dashboard, copy your Account SID and Auth Token for later use.
- Make a note of the sender phone number for later use.
2. Store contact details
Store the phone number of your users by using our Update Contact details API.3. Enable SMS notifications
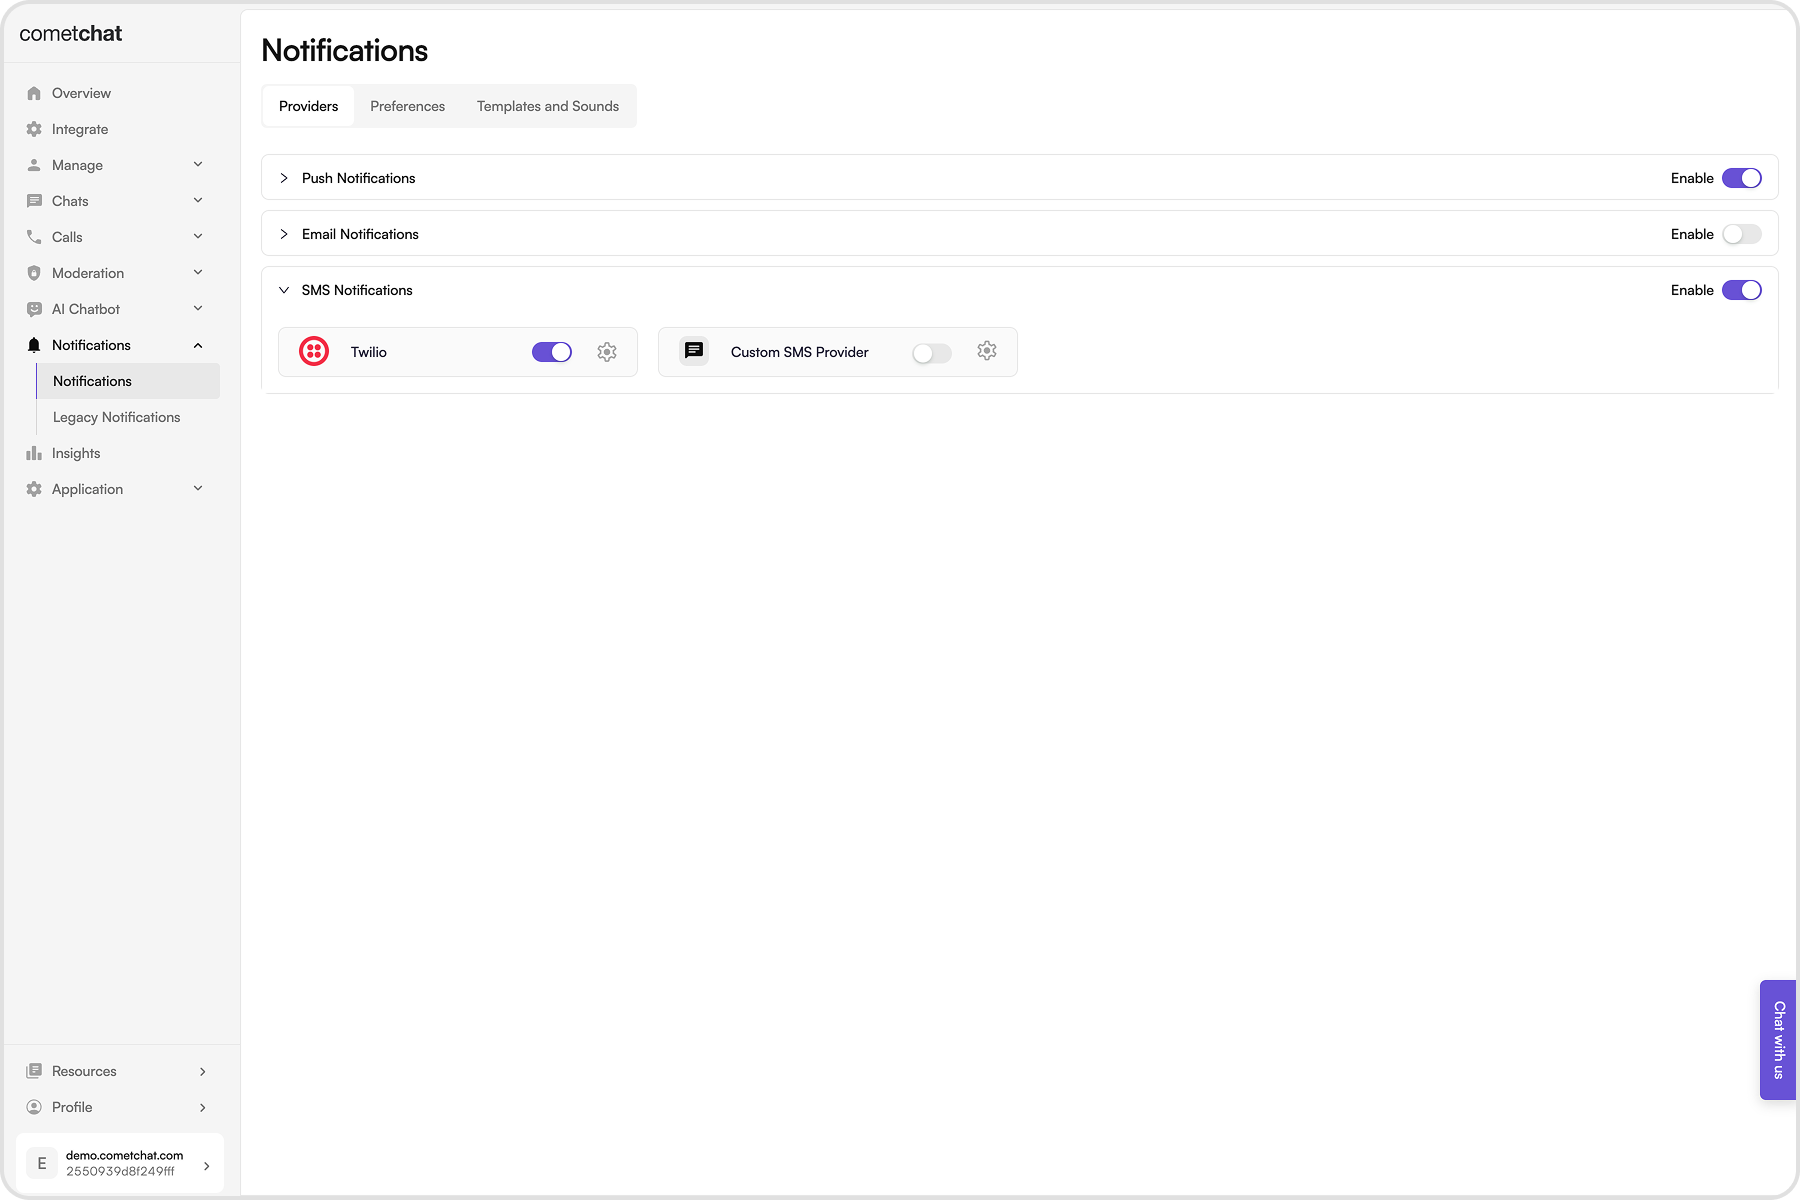
- Login to CometChat dashboard and select your app.
- Navigate to Notifications > Settings in the left-hand menu.
- Enable SMS notifications feature.
4. Save Twilio credentials
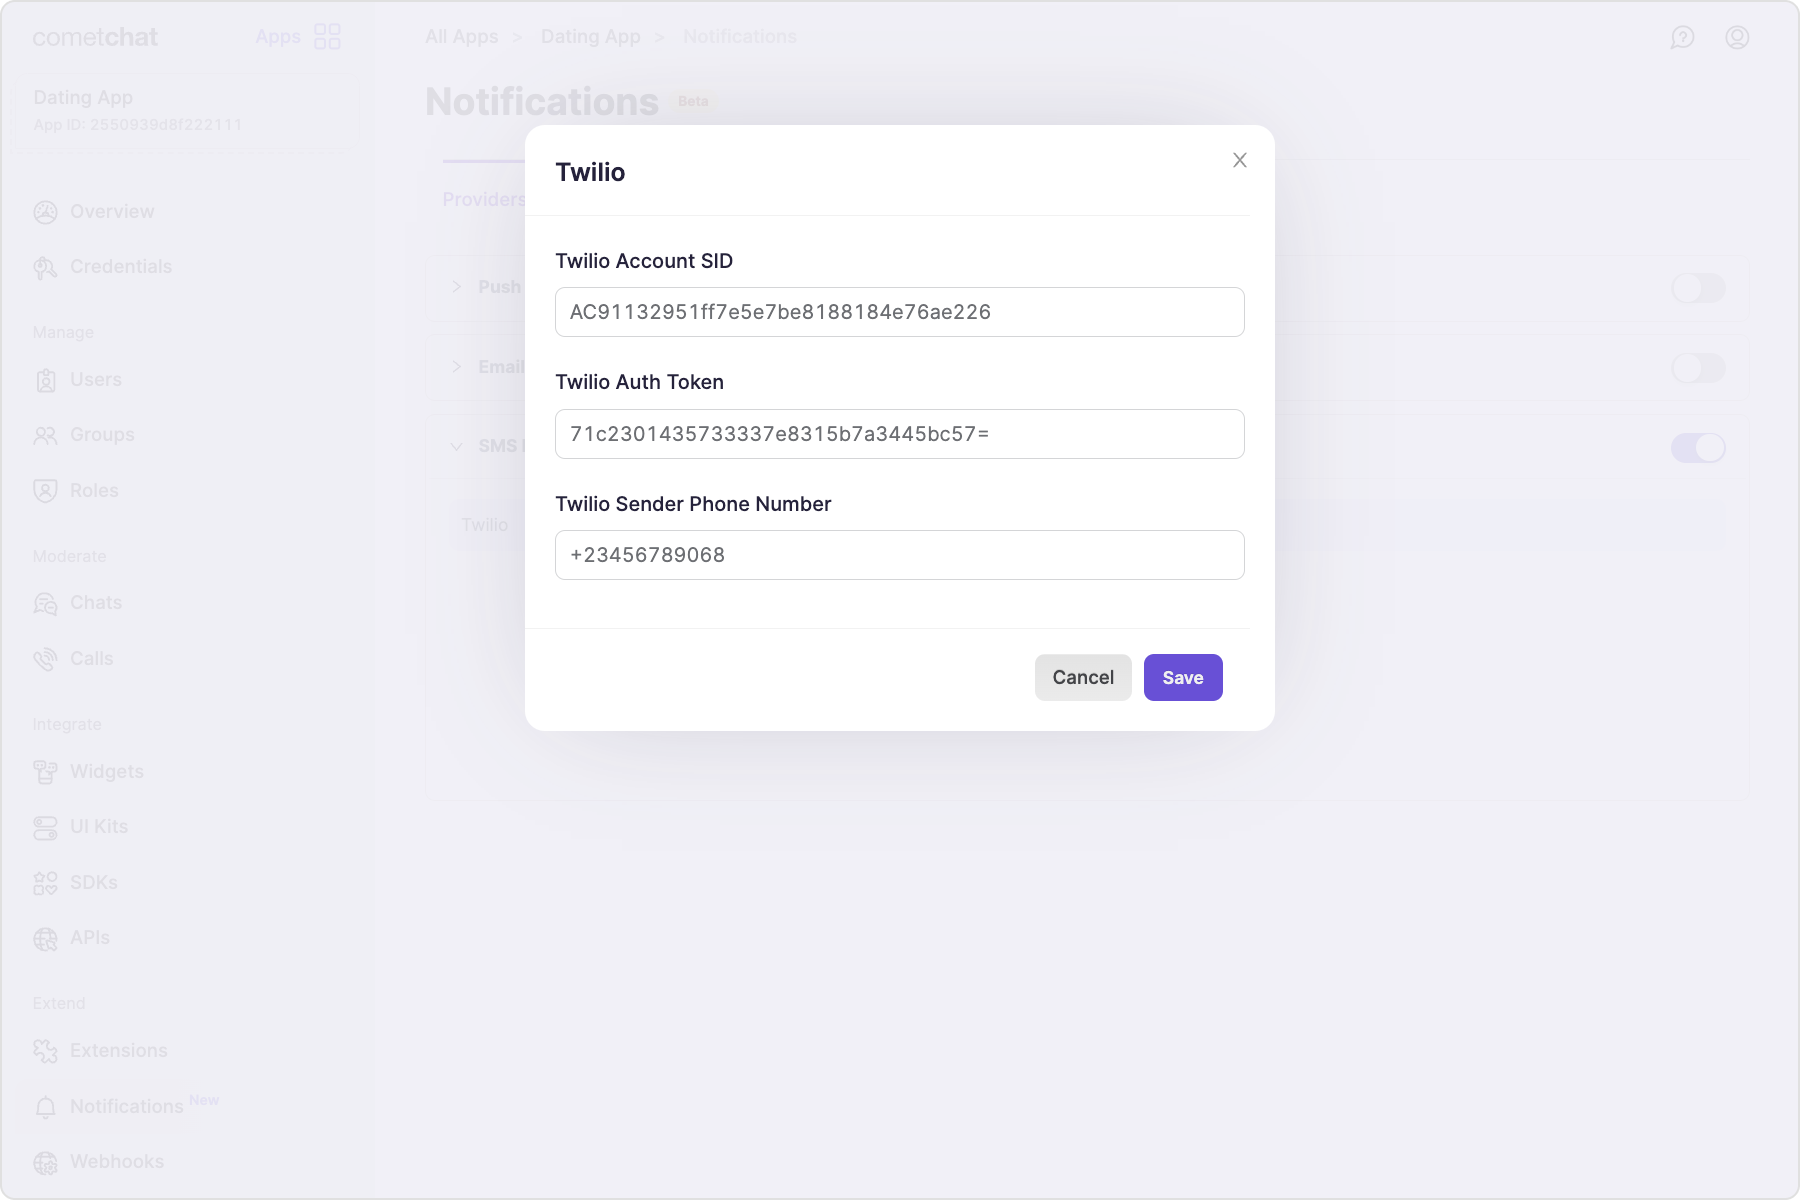
- Twilio Account SID
- Twilio Auth token
- Twilio sender phone number
5. Save user timezones
A user’s timezone is required to allow them to set a schedule for receiving notifications. In case the timezone is not registered, the default timezone for- For US region: EST
- For EU region: GMT
- For IN region: Asia/Kolkata
updateTimezone() method of CometChatNotifications class.
This functionality is available in the following SDK versions:
- Android SDK version 4.0.9 and above
- iOS SDK version 4.0.51 and above
- Web SDK version 4.0.8 and above
- React Native SDK version 4.0.10 and above
- Ionic Cordova SDK version 4.0.8 and above
- Flutter SDK version 4.0.15 and above
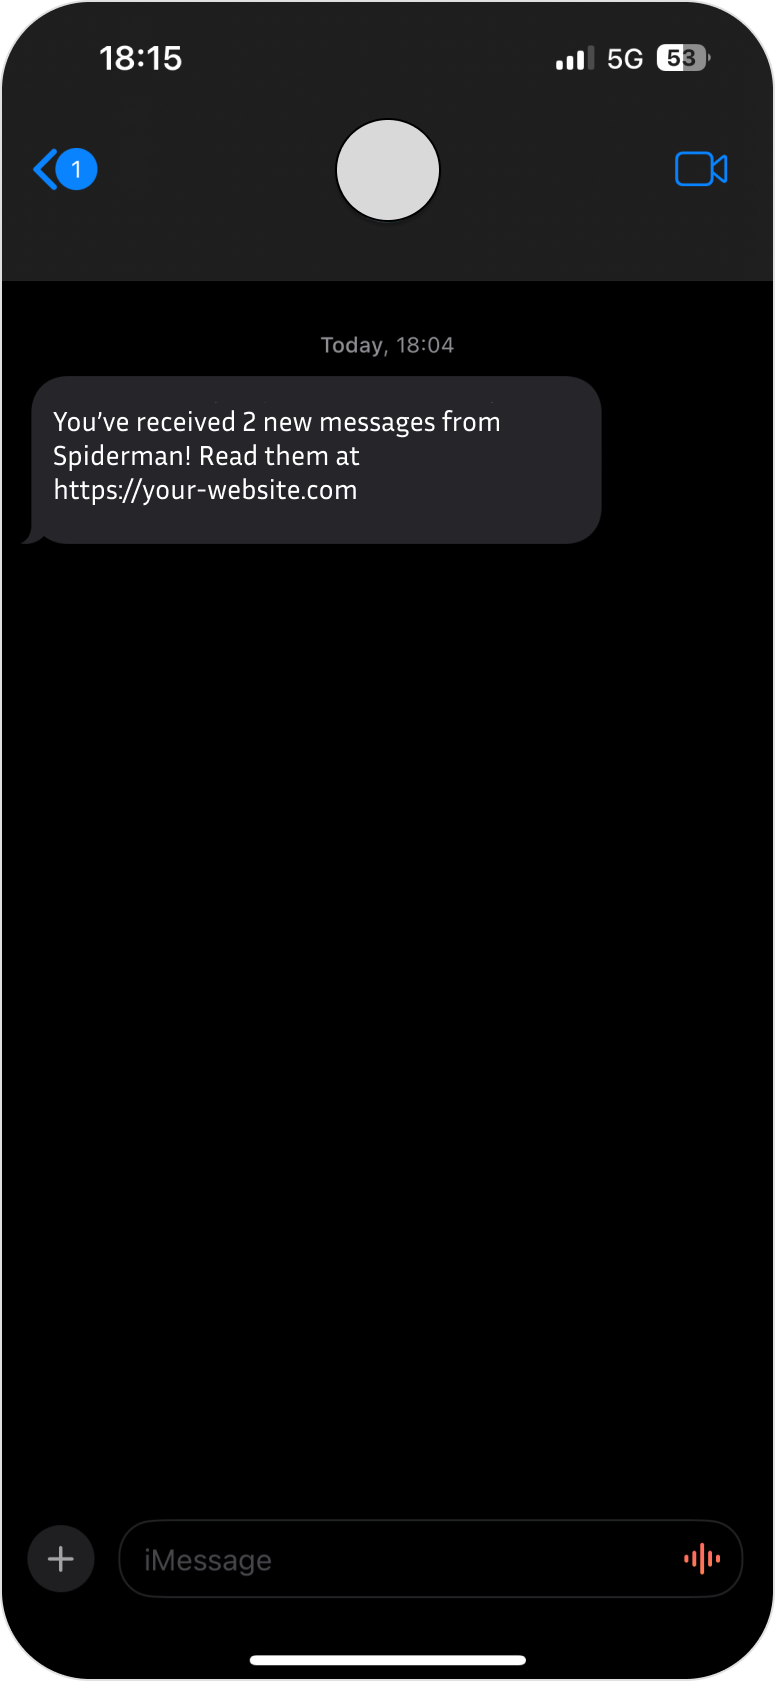
6. Receive notifications
Quick checklist
- Twilio Account SID, Auth Token, and sender number saved in the dashboard.
- User phone numbers stored/verified via Update Contact details API.
- Timezones synced via
updateTimezoneso schedules/quiet hours work. - Templates and preferences configured (see cards below); test unread trigger and monitor logs.